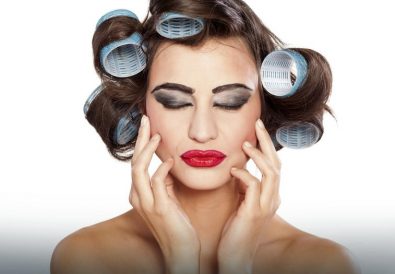
When it comes to my beauty routine, eyelashes and everyday eyelash care have always been the most important. I always envied Kim Kardashian her fluttery fans but I didn’t like the idea of getting semi-permanent lash extensions at the salon. That’s why I went for DIY cluster lashes from the brand Nanolash. Want to know the result?
I came across the DIY lash clusters by accident; I used to wear only strip lashes. Then I got tired of them because they took too long to apply. I became interested in DIY Eyelash Extensions instead.
Applying cluster lashes in 10 minutes? Wearing them for up to 5 days? I had to try them out!
DIY Lash Extensions– I bought the cluster lashes only
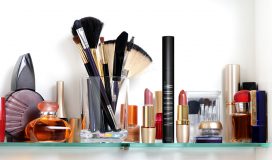
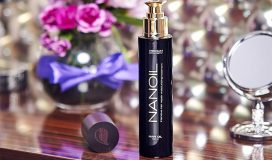
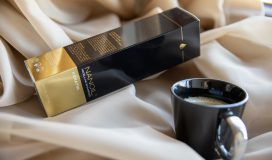
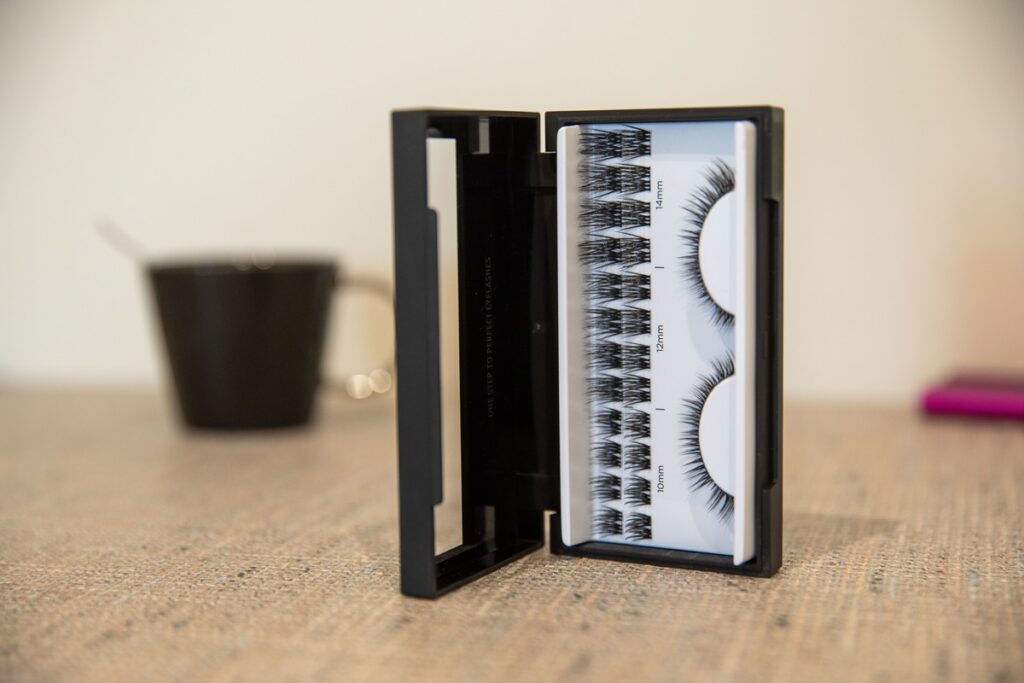
At the official webpage of Nanolash you will find a case with cluster lashes but also a ready-to-go eyelash extensions kit. The case includes 36 pcs in 3 sizes. You can choose between as many as 8 lash styles.
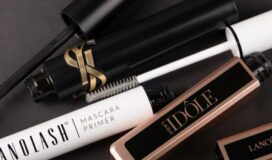
As far as the lash set goes, it contains extra accessories for easy DIY lash extension at home: the Nanolash sealer, bonder, eyelash tweezers and remover.
I decided to buy only the cluster lashes. I wanted to test the DIY Lash Extensions checking their quality and durability. Besides, I had all the essential accessories at home.
How did the application of the DIY Lash Extensions go?
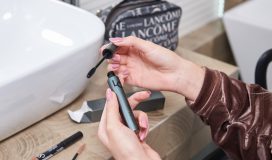
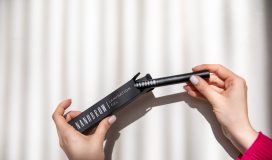
Nanolash lash clusters are designed for DIY lash extension. That sounds tricky but it’s actually easy to do! The brand promises we can finish the lash style using 4 or 5 clusters in only 10 minutes. I set a timer!
I followed all steps as described in the user’s guide. I applied the bonder and waited until it became tacky, and then started placing the clusters under the natural hairs, about one millimeter from the eyelash line, pressing them with the tweezers. I finished the treatment by applying the sealer and removing the stickiness.
I stopped the timer! 08:59 – this is exactly how long the DIY cluster lashes application took me. The producer wasn’t wrong. When it comes to the application itself, it was fast and trouble-free. Nanolash made easy at-home lash extension possible!

I always envied Kim Kardashian her fluttery fans. That’s why I went for DIY cluster lashes Heartbreaker from the brand Nanolash.
We can wear the DIY Eyelash Extensions for up to 5 days. True or false?
The manufacturer makes daring promises saying these cluster lashes last for up to 5 days. I had to check that.
Let me share the details. I put on my lash wisps on Sunday evening. Five days passed and the lash clusters were still in place so I came to the conclusion I could leave them on longer. Eventually I wore them for 8 days. I must mention one thing, though. I kept proper aftercare instructions in mind, sleeping on my back, keeping the eye area clean and brushing through the lashes. I believe by doing so I made the cluster lashes last longer.
After taking them off I noticed the lash clusters had the same shape. The DIY Lash Extensions were flexible and looked neat. I used the remover to clear the lashes of the glue. Though the product details say we can apply the clusters just once, I put the same wisps again!
What about the result? The same I achieved after the first application. I think we can reuse Nanolash cluster lashes worry-free.
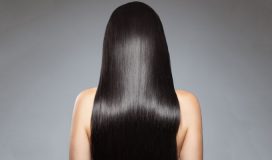
Effects after DIY eyelash extension using the Nanolash cluster lashes. Am I happy with the results?
Applying the Nanolash DIY cluster lash extensions was:
- fast
- easy
- pleasurable
I cannot think of a single problem. Even taking off the DIY Lash Extensions was super simple.
I appreciate the variety too. Thanks to the three available lash lengths I could mix and match the clusters to get the most fluttery lashes. I heartily recommend the Nanolash DIY lash clusters to each one of you!